One fine sunny morning at Camp Grandma I decided it was time to try my hand at tie-dyeing. I had purchased a little tie-dye kit at Joann‘s Fabrics, along with some white t-shirts that were on sale.
This kit included the three bottles with the dye powder, rubber bands, and plastic gloves, along with the instructions of course. It was supposed to be enough dye to make 6 shirts. We made two kids shirts and one adult shirt.
In order to make this a successful project with Evan I had to have ALL of the supplies we would need set-up before we got started.
We headed outside to a table I had set-up on the patio, covered with black trash bags. I wanted to keep the mess in an easy to clean up state. And I knew that Evan, being only 6, might not have the patience to wait around for the process we were about to dive into. I was not able to take pictures of our processing, so I will do my best to describe the steps of our project.
-
We laid two of the shirts out flat, and then pulled up the center of the shirt into a long skinny tube-like shape.
-
For the third shirt, it was twisted it into a ball from the middle of the shirt.
-
Next the rubber bands were placed around the ball like the sections of an orange.The shirt looked like this:

Now for the fun part. Evan and I put on some plastic gloves and carefully and slowly began to apply the dye to the shirts. Each section between the rubber bands was a different color. We had red, navy blue and a teal blue. Very patriotic in the end. Once all of the dye was applied to all of the sections of the shirts they were left to soak for the rest of the day. We put them inside plastic grocery bags, tied them shut and then cleaned up our table.
After about 6 hours the shirts were rinsed first under only cold water. This was to remove the excess dye in the shirts. Then the rubber bands were removed, and the shirt was rinsed again, in only cold water. This was to remove the last remaining bits of the excess dye that had not set into the fabric. Next the shirts went into the washer, cold water only, on the shortest wash cycle possible. Mine takes about half an hour. Then I threw them in the dryer on a very low heat.
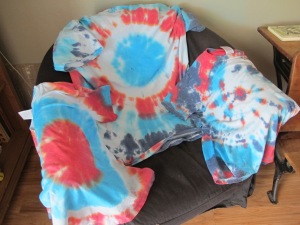
The end result looked like this:
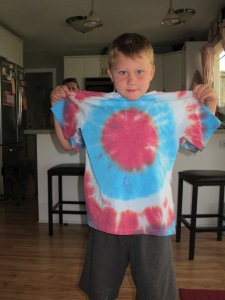
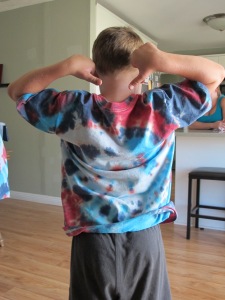
 We purposely left a section white, as we were going for the red, white and blue effect. That was Evan’s idea. But with this kit the colors set in very well. Evan was so excited with how they turned out he modeled quite graciously for me.
When we do this project again, I will make sure I have another set of hands to help with the mess. The dye is fun to work with, but takes some skill in getting the colors on the sections of the shirts without running over into the next section. This process is not as intense as using a Rit dye process, but the results were pretty good. This project will be a great memory for Evan in the years to come. I still have fond memories of tie-dying some awesome, orange sheets with my Mom, and her girlfriends, and all of the kids, many moons ago.
And to all of my family – what do you guys think about a tie-dye party for an end of summer shin dig, or maybe for the holidays? Leave me a comment.


